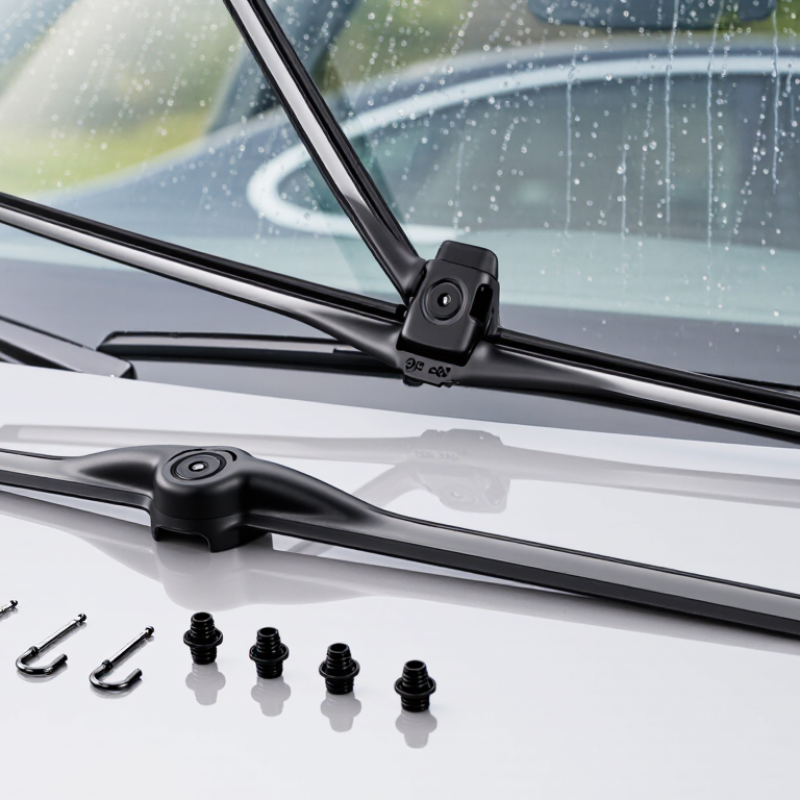
| J-Hook (U-Hook) | The curved end of the wiper arm passes through the blade connector and hooks into a locking point. | The arm end curves back on itself, forming a J- or U-shaped hook. Common sizes include 9 × 3 mm and 9 × 4 mm, but dimensions should be verified. | Confirm the adapter has a channel wide and tall enough for the arm, plus a secure locking cover or tab. | Slide the arm fully into the connector until it locks. Pull gently on the blade to confirm it is secured. |
| Pinch Tab | Two small tabs on the sides of the wiper arm are squeezed to release or secure the blade. | The arm has side tabs near its end rather than a curved hook. The exact tab position and arm dimensions vary by vehicle. | Look for an adapter with accessible release points and enough clearance for the arm tabs to engage. | Check that both sides lock evenly; a blade that only partly engages may detach during use. |
| Top Lock / Push Button | The arm slides into the blade connector and locks with a button or catch on top. | The arm end is generally flat or rectangular, with a button, slot, or locking feature on its upper surface. | Match the adapter’s width and locking position to the arm. Similar-looking top-lock systems are not always interchangeable. | Press the release button as directed when removing the old blade; do not force the connector sideways. |
| Side Pin | A pin projecting from the side of the arm fits into a hole or slot in the blade connector. | A short cylindrical pin is visible on one side of the arm. Pin diameter and distance from the arm end can differ. | Verify that the adapter opening aligns with the pin and that the connector accommodates the arm width. | Make sure the pin is fully seated in the adapter opening and that the blade cannot slide off the arm. |
| Bayonet / Side-Mount Arm | A narrow, straight arm end enters a matching slot and is retained by a clip or locking feature. | The arm is typically straight and flat, without a J-hook; its end may have a notch or cutout. | Compare the arm thickness, width, and end shape with the included adapter instructions. | Confirm the blade sits straight on the arm and the locking feature is fully engaged before operating the wipers. |
| Multi-Adapter Blade Assembly | One blade package includes interchangeable or pre-installed adapters for several arm styles. | The package lists supported connector types or shows adapter pieces with distinct shapes. | Check that the correct adapter is included, fits securely, and is installed in the orientation specified by the instructions. | Use the vehicle’s year, make, model, and wiper position to confirm fit. Driver-side and passenger-side blades may differ in length. |



 Close