How to Choose the Right Recessed Downlight?
Choosing the right Recessed Downlight is not merely a matter of selecting the brightest fixture. It affects visual comfort, energy use, maintenance, and the character of each room. The International Energy Agency reports that LEDs now account for more than half of global lighting sales, reflecting a major shift toward efficient solid-state lighting. ENERGY STAR also states that certified LED bulbs can use up to 90% less energy and last up to 25 times longer than incandescent bulbs. These figures are persuasive, but they do not guarantee a good installation.
Dr. Nadarajah Narendran, a respected solid-state lighting researcher, has described LEDs as “not just a replacement technology; they are an enabling technology.” His observation is important when comparing beam angles, color rendering, dimming performance, and glare control. A 700-lumen downlight with a 36-degree beam can create a focused pool above a kitchen island. A wider 90-degree beam may suit a hallway better. Check the DOE Solid-State Lighting R&D reports, ENERGY STAR criteria, and manufacturer photometric files before deciding.
Details matter.
Look for CRI 90 or higher where finishes, food, or skin tones must appear natural. Confirm the color temperature, such as 2700K for warm living spaces or 4000K for practical work areas. Verify IC and airtight ratings, especially near insulation. Check compatibility with the intended dimmer. A tidy specification sheet can still mislead if glare, flicker, or housing depth is ignored. This guide examines those trade-offs carefully, because the “best” Recessed Downlight depends on the room, ceiling, controls, and people using it.
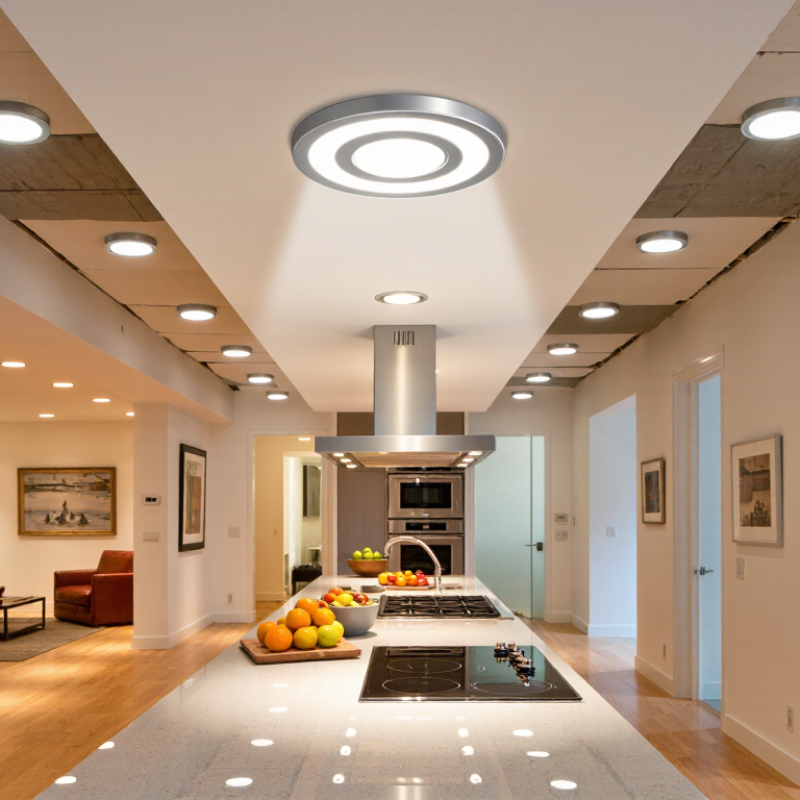
Define the Room’s Lighting Needs and Fixture Placement
How to Choose the Right Recessed Downlight?
Define the room’s lighting needs before choosing a recessed downlight. A kitchen usually needs bright, even light over counters and sinks. A bedroom often benefits from softer illumination and warmer color temperature. In my experience, 3000K creates a comfortable balance for many living areas. Work surfaces may need higher output, often measured in lumens. Do not judge brightness by wattage alone.
Map the furniture and activity zones on the ceiling plan. Place downlights over counters, desks, reading chairs, and walkways. Avoid positioning every fixture in a rigid grid. That approach can leave walls dark and create unnecessary glare.
Keep fixtures away from upper cabinets when possible. Otherwise, cabinet doors may cast shadows across the worktop. A narrow beam can highlight artwork, while a wider beam spreads light across open areas.
Check the ceiling structure before installation. Insulation contact ratings, moisture ratings, and local electrical requirements all matter. Select dimmable fixtures when the room serves several purposes. Pairing dimming with suitable controls improves comfort during evening use.
I once placed a light directly above a sofa, and the resulting glare was distracting. The layout looked balanced on paper, but real seating changed everything. That mistake taught me to review sight lines from eye level. Measurements help, but a room’s daily use can still surprise you. Test one fixture position before cutting multiple ceiling openings.
Choose the Suitable Downlight Size, Shape, and Trim Style
Choosing the right recessed downlight starts with the room’s scale and ceiling structure. Measure the ceiling opening before selecting a replacement fixture. A 3-inch downlight suits narrow hallways, shelves, and compact bathrooms. Larger 5-inch or 6-inch models provide broader coverage in living rooms. However, size alone does not determine brightness. Check lumens, beam angle, and ceiling height together.
Shape also affects the visual rhythm. Round downlights look familiar and blend easily with circular cutouts. Square models create sharper lines in modern interiors. Avoid forcing a different shape into an existing opening. The result may look uneven. Trim style deserves equal attention. A baffle trim reduces glare and works well in bedrooms or media rooms. A reflector trim directs stronger light toward work surfaces. Adjustable gimbal trims help aim light at artwork, countertops, or stair walls.
Tips: Use warm light for relaxed spaces and neutral light for kitchens or offices. Confirm the fixture’s damp-location rating in humid areas. For insulation-contact ceilings, verify the housing is approved for that installation. I have seen attractive downlights fail visually because their trim color matched the ceiling poorly. White trim can disappear into a pale ceiling, while black trim creates a deliberate contrast. Still, contrast is not always better. Test one light at night before installing several. That small trial can expose glare, shadows, or an unsuitable beam spread.
Check Ceiling Compatibility, Dimming, and Installation Requirements
Choosing a recessed downlight starts above the ceiling, not in the showroom. Check the joist depth, insulation, wiring route, and existing junction box. An IC-rated housing is essential when insulation may touch the fixture. Non-IC products need clearance, which can create heat and fire risks. Local electrical codes still control the final decision.
Dimming deserves equal attention. A light can be labeled “dimmable” yet flicker, buzz, or stop smoothly at low levels. The U.S. Department of Energy reports that LED products use at least 75% less energy than incandescent lighting and can last up to 25 times longer. However, savings depend on correct controls. Confirm the dimmer’s LED load range, minimum wattage, neutral-wire requirement, and compatibility list. Test one fixture before buying twenty.
Installation space matters. Measure the cutout carefully; a 4-inch opening cannot accept every 4-inch fixture. Check whether the downlight needs a separate driver, airtight housing, or a plug connection. In my site checks, shallow ceilings often forced a smaller trim or a surface-mounted alternative. I have also trusted a “universal” dimmer too quickly. That mistake caused visible flicker. The DOE CALiPER program has repeatedly shown that lighting performance varies between products, even within similar categories. Read the photometric file, verify color temperature, and ask a qualified electrician to inspect uncertain wiring. Small checks prevent expensive ceiling repairs.
How to Choose the Right Recessed Downlight
Common recessed downlight cut-out diameters vary by fixture size. Always confirm the exact cut-out, ceiling void depth, driver position, and dimmer compatibility before installation.
Ceiling compatibility Measure the ceiling thickness and available void depth. Check for joists, insulation, ductwork, and other obstructions.
Dimming Use a dimmable downlight with a compatible dimmer type, such as leading-edge or trailing-edge, as specified by the manufacturer.
Installation requirements Verify fire-rating, insulation-contact clearance, IP rating for damp areas, driver access, and local electrical requirements.



 Close

