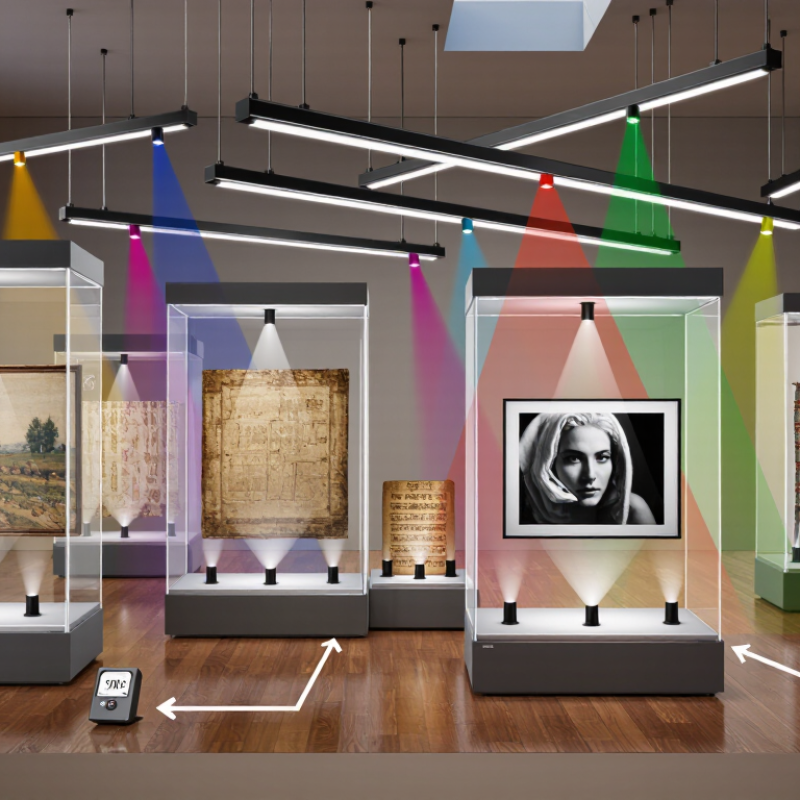
| 1 | Classify objects by light sensitivity | Assess materials and condition before setting exhibit lighting. Paper, textiles, watercolors, and many photographs are especially vulnerable; stone, metal, and ceramics are generally less sensitive. | Use approximately 50 lux as a common starting point for highly light-sensitive objects; set limits with a conservator. | Different materials fade and deteriorate at different rates, so one lighting level is not suitable for every object. |
| 2 | Measure light at the object | Use a calibrated lux meter at the object’s surface and at the points receiving the most light. Recheck after changing lamps, displays, or exhibit layout. | Record readings in lux; do not rely only on lamp output or room-level measurements. | Light levels at an object can vary considerably with distance, angle, display case glazing, and spotlight position. |
| 3 | Limit exposure time | Turn off or dim exhibit lights when galleries are closed, and use occupancy controls where appropriate. Track both light intensity and hours of display. | Estimate cumulative exposure in lux-hours: lux × hours of exposure. | Light damage accumulates with exposure, so reducing display time can help protect an object even when light levels are already low. |
| 4 | Keep highly sensitive works near 50 lux | Set a conservative illumination level for works on paper, textiles, and similarly vulnerable materials; balance visibility with preservation needs. | About 50 lux is a widely used guideline, not a universal limit; confirm the appropriate level for each collection. | Lower illumination reduces the rate of light-induced fading and other photochemical changes. |
| 5 | Use higher levels selectively | Consider brighter lighting only for materials that can tolerate it, and avoid allowing light from nearby displays to spill onto sensitive objects. | Some guidance uses roughly 150–200 lux for moderately sensitive objects; verify with conservation staff. | Selective lighting can improve readability and visitor experience without exposing every object to the same intensity. |
| 6 | Block ultraviolet radiation | Filter daylight and artificial light where needed, and check filters and glazing periodically for damage or aging. | Measure ultraviolet radiation with a suitable UV meter; a commonly cited guideline is below 75 µW/lm. | UV radiation can contribute to fading and material degradation. Removing UV does not eliminate damage from visible light. |
| 7 | Keep daylight under control | Use blinds, shutters, UV-filtering treatments, or carefully designed glazing to prevent direct sunlight from reaching objects. | Check displays at different times of day and across seasons, when sun angles and daylight levels change. | Sunlight can cause intense, uneven exposure and may add heat as well as damaging radiation. |
| 8 | Choose low-heat lighting and placement | Position fixtures so they do not warm objects or display cases. Check object and case temperatures during operating hours. | Look for temperature increases near the object; investigate noticeable or sustained warming. | Heat can stress materials and may affect the temperature and humidity conditions inside a case. |
| 9 | Use focused, even illumination | Aim fixtures carefully, reduce glare, and use diffusers or adjustable optics to avoid harsh hotspots and unnecessary spill light. | Compare lux readings at several points across the object or display case. | Even illumination improves viewing comfort while helping prevent small areas from receiving excessive exposure. |
| 10 | Review and document lighting regularly | Keep records of lux readings, operating hours, UV checks, display dates, and any changes to fixtures or filters. Reassess when exhibits change. | Maintain a dated log and set a regular inspection schedule appropriate to the exhibit and equipment. | Documentation helps staff identify changing conditions, manage cumulative exposure, and make consistent conservation decisions. |



 Close