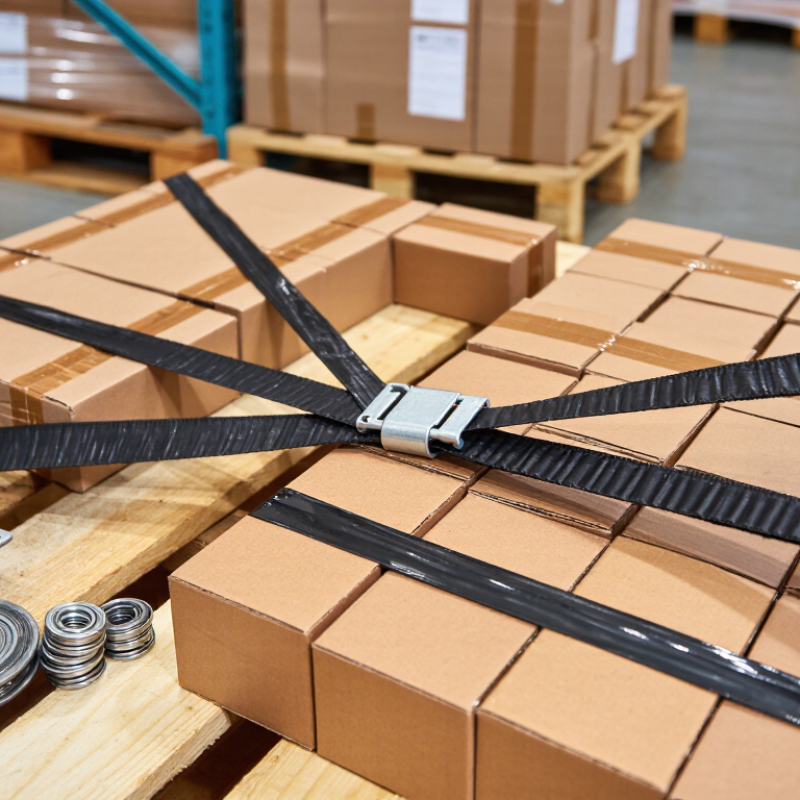
| Preparing the Pallet |
| Inspect the pallet | Check the deck boards, stringers or blocks, and overall stability. | Use a sound pallet that can support the load. Replace or repair damaged pallets before banding. |
| Arrange the load | Stack cartons or products evenly, keeping the load within the pallet footprint. | Distribute weight appropriately and avoid unstable overhangs. Use corner or edge protection where straps could crush or damage products. |
| Choose strap paths | Plan the number and direction of straps, such as around the load and pallet or across the top. | Keep straps aligned and clear of sharp edges. The required pattern depends on the load, handling conditions, and shipping requirements. |
| Protect the product | Add suitable corner boards, edge guards, or protective sheets before tensioning. | Protection helps distribute strap pressure and reduces the risk of cutting, marking, or crushing packaging. |
| Choosing Banding and Kit Components |
| Polypropylene (PP) strapping | Lightweight, flexible plastic strapping commonly used for light to moderate bundling and pallet loads. | Often suited to applications where some flexibility is useful. Confirm the strap’s dimensions and strength match the tool and load. |
| Polyester (PET) strapping | Plastic strapping commonly selected for heavier loads and applications needing stronger tension retention than typical PP strapping. | Can be used as an alternative to steel in many applications, but the correct choice depends on load behavior, environment, and handling requirements. |
| Steel strapping | High-strength strapping used for demanding loads, rigid products, or applications where resistance to sharp edges is important. | Edges can be sharp, so use appropriate protective equipment and compatible tools. Consider corrosion and product-damage risks. |
| Hand tensioner | Pulls the strap tight around the load. | Select a tensioner designed for the strap material, width, and thickness. Follow its operating instructions. |
| Sealer or sealing method | Secures the strap using a seal, joint, or a tool-created connection, depending on the system. | Sealing methods are not interchangeable. Match the sealer, seals, and strap to the banding system. |
| Dispenser and accessories | Holds and feeds the strap; a kit may also include seals, cutters, or protective gear. | Check what is included in the kit and whether it suits the work area, strap roll, and expected use. |
| Compatibility check | Verify strap material, width, thickness, seal type, and tool specifications before use. | There is no single strap size or tool setup for every pallet. Follow the equipment and strap supplier’s specifications. |
| How the Banding Process Works |
| 1. Position the strap | Feed the strap around the planned path, keeping it flat and untwisted. | Keep hands clear of pinch points and make sure the strap does not snag on the load or pallet. |
| 2. Tension the strap | Use the compatible tensioner to tighten the strap around the load. | Apply enough tension to secure the load without crushing cartons, deforming products, or damaging the pallet. |
| 3. Secure the joint | Close the joint using the system’s specified seal or joining method. | Check that the connection is properly formed according to the tool instructions before releasing tension. |
| 4. Cut and inspect | Cut excess strap with the appropriate tool and inspect the completed band. | Check strap alignment, joint security, load stability, and any damage. Re-band if the load shifts or the joint is not secure. |
| Safety reminder | Wear suitable protective equipment and use tools as instructed. | Straps can recoil when cut or released. Stand clear of the strap path and never exceed the tool or strap’s specified limits. |



 Close