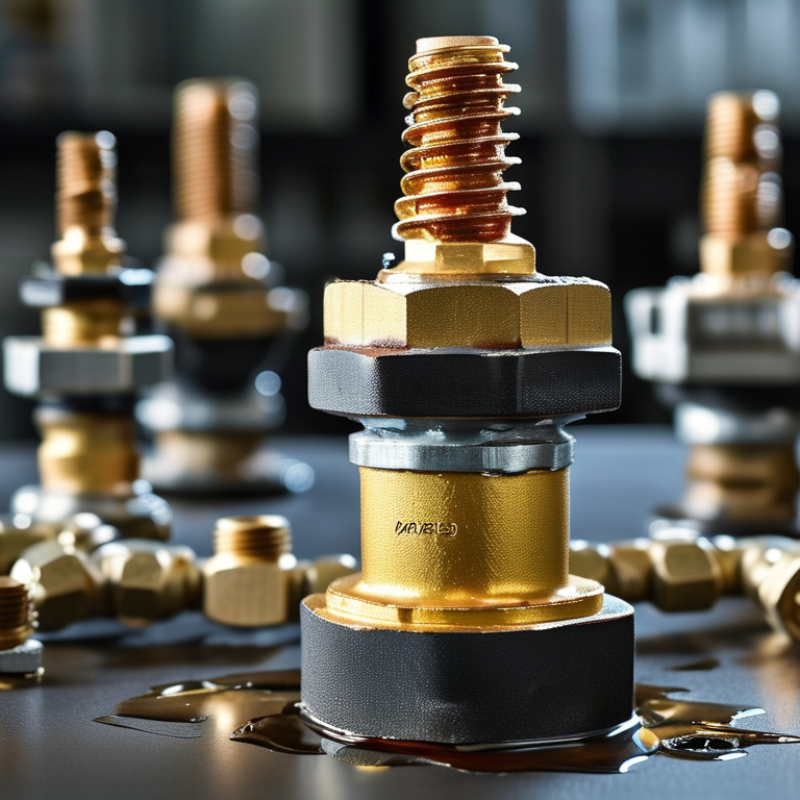
| Loose threaded connection | At the valve-to-connector or connector-to-pipe joint | Moisture or droplets appear around the threads, especially when the system is pressurized. | Shut off the supply, depressurize the system, and inspect whether the joint has visible movement or insufficient tightening. | Disconnect and inspect the threads. Reassemble to the applicable manufacturer or installation torque. Avoid overtightening, which can crack fittings or damage threads. | Medium |
| Damaged or worn sealing washer | At a flat-face union, hose connection, or connector end | Leakage continues even though the connection appears tight; the washer may look flattened, cracked, hardened, or deformed. | Remove the connection after isolation and examine the washer for cuts, compression marks, brittleness, or incorrect size. | Replace the washer with the correct material, dimensions, and pressure-temperature rating. Clean both mating surfaces before reassembly. | High |
| Incorrect thread type or size | At a threaded valve connector | The joint feels tight only after a few turns, cross-threading is visible, or the fitting leaks along the thread path. | Compare the thread profile, nominal size, and connection standard. Do not force components that do not engage smoothly by hand. | Replace the mismatched component with a connector having the correct thread type and size. Do not use sealant to compensate for incompatible threads. | High |
| Improper thread sealant application | Along tapered threaded joints | Sealant is missing, unevenly applied, contaminated, or pushed into the flow passage; leakage may occur shortly after installation. | Inspect the exposed threads after depressurizing. Check whether the sealant is approved for the fluid, pressure, temperature, and connection material. | Remove old sealant, clean the threads, and apply a compatible sealant according to its instructions. Keep sealant away from the first thread and internal passages. | Medium |
| Damaged, corroded, or contaminated sealing surfaces | At the valve face, flare, compression seat, or connector shoulder | Rust, scratches, pitting, dirt, or scale is visible on the mating surfaces; the leak may remain after tightening. | Disassemble and inspect the sealing faces under good lighting. Look for radial scratches, corrosion pits, embedded particles, or burrs. | Clean minor contamination using a suitable method. Replace parts with deep scratches, pitting, distorted seats, or damaged sealing faces. | High |
| Misalignment or excessive side load | At the connector joint or valve body connection | The pipe or hose pulls sideways on the valve; leakage changes when the line is moved or supported. | Check whether the connector is being used to correct pipe misalignment or carry the weight of unsupported piping. | Realign the piping, add suitable supports, and remove external loads from the valve and connector before retightening or replacing damaged parts. | High |
| Excessive vibration or thermal cycling | At threaded, compression, or flexible connector joints | The leak develops gradually; fittings may loosen after repeated equipment starts, stops, heating, or cooling cycles. | Look for vibration, pulsation, temperature changes, loosened fasteners, and movement marks around the connection. | Reduce vibration where possible, provide proper supports, use a suitable flexible connector, and inspect or replace fatigued sealing components. | Medium |
| Overtightening or installation damage | At threads, ferrules, plastic connectors, or valve bodies | Cracks, split threads, crushed washers, distorted ferrules, or a leak that worsens after tightening are present. | Inspect the connector and valve body for deformation or hairline cracks. Compare the installation method with the specified tightening procedure. | Replace cracked or deformed components. Reinstall using the correct hand-tightening and torque procedure for the connection type. | High |
| Pressure or temperature beyond the connector rating | At any connector seal or joint | Leakage occurs mainly during pressure spikes, high temperatures, freezing conditions, or process changes. | Compare actual operating pressure and temperature with the ratings of the valve, connector, seal, and tubing. | Use components rated for the actual service conditions. Install pressure regulation or thermal protection when required by the system design. | High |
| Chemical incompatibility or seal degradation | At elastomeric seals, hoses, and plastic connector components | The seal is swollen, softened, brittle, cracked, discolored, or unusually hard; leakage increases over time. | Identify the fluid and review the compatibility of the seal and connector materials with the fluid, concentration, and temperature. | Replace degraded parts with materials compatible with the service fluid. Correct any excessive temperature or chemical exposure. | High |
| Connector or hose end not fully inserted | At push-fit, compression, or quick-connect fittings | The tubing is not seated to the required depth, the locking mechanism is incomplete, or the tube can be pulled out by hand. | Isolate the line and verify insertion depth, tube condition, ferrule position, and locking engagement. | Cut tubing squarely if required, remove damaged sections, fully insert the tube, and reinstall the retaining component according to the fitting design. | Medium |
| Valve body or connector material failure | Through a crack, casting defect, or split in the body | Fluid emerges from the body itself rather than the joint; the leak may persist after the connector is replaced. | Dry the area and observe the source under safe, depressurized conditions. Use an approved leak-detection method if appropriate. | Remove the valve or connector from service and replace it. Do not attempt to repair pressure-containing cracks with sealant. | High |



 Close
Close