Why Use a Heatsink Thermal Pad for Better Cooling?
Why Use a Heatsink Thermal Pad for Better Cooling?
Modern electronic devices create intense heat in very small spaces. Processors, LED modules, power converters, and battery systems all need dependable thermal control. A heatsink can remove heat efficiently, but its performance depends on the contact surface beneath it. Tiny scratches, air pockets, and uneven mounting pressure can block heat transfer. A Heatsink Thermal Pad fills these microscopic gaps and creates a more continuous thermal path.
Thermal-management researcher Dr. David Reay emphasizes a practical principle: “Every interface adds thermal resistance, and every interface deserves attention.” This idea explains why a thermal pad can outperform a dry, imperfect connection. The pad conforms to surface irregularities, reduces trapped air, and helps move heat from the component into the heatsink. It also supports cleaner assembly than liquid compounds in many production environments.
The details matter.
Choosing the wrong pad can limit cooling instead of improving it. Engineers must compare thermal conductivity, thickness, compression, electrical insulation, and long-term stability. A very thick pad may bridge a gap, but it can also increase thermal resistance. A soft material may spread well, yet it may require careful pressure control. Real testing remains essential. Measure temperatures under realistic loads, not only at idle conditions.
This article examines how a Heatsink Thermal Pad works, where it provides the greatest value, and which selection mistakes deserve attention. Its benefits are clear, but no pad fixes poor mechanical design. Good cooling requires suitable materials, controlled contact, and honest performance testing.
What Is a Heatsink Thermal Pad?
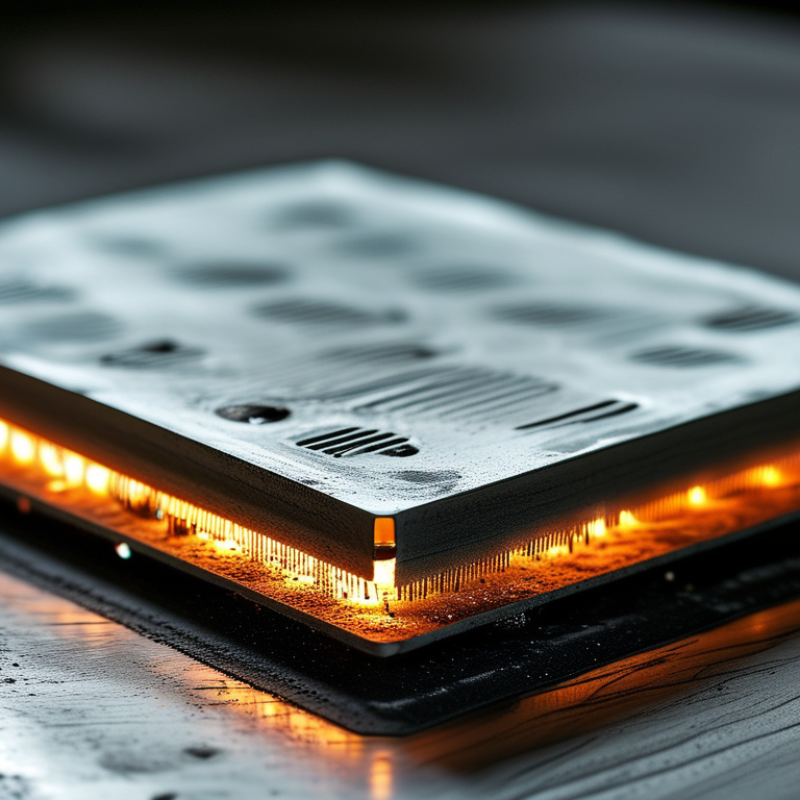
A heatsink thermal pad is a soft, thermally conductive layer placed between a heat-producing component and a heatsink. It fills tiny gaps caused by uneven metal surfaces, scratches, or slight bending. Air cannot transfer heat efficiently, so the pad creates a more reliable path toward the heatsink.
Most pads use silicone or another flexible insulating material with added thermally conductive particles. They come in different thicknesses, softness levels, and thermal conductivity ratings. Thickness matters. A pad that is too thin may not touch both surfaces. A pad that is too thick can increase resistance and reduce cooling performance. I have seen this happen when a replacement pad looked suitable but compressed unevenly around nearby components.
Installation needs patience. Clean dust and old residue from both surfaces, then measure the gap instead of guessing. Keep the protective film on until the pad is positioned. Press gently across the surface, not only at one corner. The pad should contact the component and heatsink without folding or stretching. It should not cover electrical contacts unless the design specifically allows it.
Thermal pads are useful where a rigid heatsink cannot sit perfectly flat. They also help absorb small mechanical tolerances and vibration. However, they are not automatically better than thermal paste. The best choice depends on the gap, pressure, surface shape, and heat level. Small mistakes remain possible. A temperature check after installation can reveal whether the contact is actually working.
Why Use a Heatsink Thermal Pad for Better Cooling?
Typical thermal conductivity of common thermal interface materials
A heatsink thermal pad fills microscopic air gaps between a heat source and a heatsink. Because air has very low thermal conductivity, replacing trapped air with a thermally conductive pad can reduce heat-transfer resistance. Pads also provide electrical insulation, consistent thickness, and clean installation. The values shown are representative nominal figures; actual performance depends on pad thickness, contact pressure, surface flatness, and material formulation.
How Thermal Pads Transfer Heat Between Components
A heatsink thermal pad creates a controlled thermal bridge between a component and its heatsink. Electronic surfaces often look flat, but microscopic gaps remain between them. Air fills these gaps and transfers heat poorly. The pad replaces much of that air with a softer, more conductive material. When the heatsink presses against the pad, heat travels from the component, through the pad, and into the heatsink fins. The heatsink then releases that energy into the surrounding air.
Pad performance depends on thickness, compression, thermal conductivity, and surface contact. A thinner pad usually offers lower thermal resistance, but it must still fill the gap completely. Too much compression can damage a component or squeeze material unevenly.
Not magic. In practical assembly work, I check the contact imprint after removing the heatsink. A continuous imprint suggests proper contact, while dry edges may reveal an oversized gap or uneven pressure.
I once assumed a thicker pad would improve cooling. That assumption was wrong. Temperature testing showed a thinner, correctly compressed pad performed better.
Reliable results also require clean surfaces and accurate measurements under the same workload. Some pads provide electrical insulation, but that property should be confirmed from technical specifications. Small details matter.
Why Thermal Pads Improve Cooling Performance
Why Use a Heatsink Thermal Pad for Better Cooling?
A thermal pad improves cooling by filling tiny gaps between a chip and its heatsink. Air trapped in those gaps resists heat transfer. The pad creates a softer, more continuous path for heat to reach the metal surface.
In practical repairs, a one-millimeter gap can affect contact noticeably. A suitable pad compresses under mounting pressure and spreads across uneven surfaces. Its thermal conductivity, thickness, and compression range all matter. A pad that is too thick may reduce pressure on the chip. A pad that is too thin may leave gaps.
I once assumed that higher conductivity always meant better cooling. That assumption was wrong. Poor contact can waste the pad’s rated performance. Clean both surfaces carefully, then remove protective films before installation. Avoid stretching the material, because thinning can create weak areas. Check that screws tighten evenly.
Thermal pads also help when components sit at different heights. Memory modules, power components, and controller chips may contact one heatsink without identical pressure. The pad accommodates these variations better than rigid paste. This can improve stability during repeated heating and cooling cycles.
Still, a pad cannot fix a blocked heatsink or weak airflow. Dust between the fins may keep temperatures high. Measuring temperatures before and after installation provides more reliable evidence than touch alone. Allow the system to reach a steady workload before comparing results. I would also recheck the mounting after several thermal cycles, because compression can change slightly over time.
Choosing the Right Thermal Pad for Your Heatsink
Why Use a Heatsink Thermal Pad for Better Cooling?
Choosing the Right Thermal Pad for Your Heatsink
A heatsink thermal pad fills microscopic air gaps between a component and its heatsink. Air transfers heat poorly, so this layer can improve contact. However, the thickest pad is rarely the best choice. Measure the gap carefully before selecting thickness. A pad that is too thin may leave areas untouched. A thick pad may increase thermal resistance or create uneven pressure. Thermal conductivity matters, but it does not tell the whole story. Compression, softness, and surface flatness also influence real performance.
In practical installations, a softer pad can handle small surface irregularities. That is not a universal rule. I once focused too much on conductivity and ignored compression, which produced disappointing results. Pad material, thickness, and pressure must work together. Check the manufacturer’s technical data, but verify the result with temperature measurements. A temperature drop after installation is useful evidence. Guesswork is not.
Tips: Measure the gap with care. Remove dust, fingerprints, and protective films. Cut the pad cleanly without stretching it. Tighten heatsink screws gradually in a cross pattern. Avoid excessive pressure near delicate components. Record temperatures before and after installation. Recheck the setup if temperatures increase over time.
How to Install a Heatsink Thermal Pad Correctly
Why Use a Heatsink Thermal Pad for Better Cooling?
How to Install a Heatsink Thermal Pad Correctly
A heatsink thermal pad fills tiny air gaps between a hot component and its heatsink. Air conducts heat poorly, while a suitable pad creates a more reliable thermal path. Correct installation matters as much as the pad’s rated conductivity. A crooked pad can leave exposed areas and create uneven cooling.
Turn off the equipment and disconnect its power source. Remove the old material carefully with a plastic scraper. Clean both surfaces using a lint-free cloth and suitable isopropyl alcohol. Let them dry completely. Measure the contact area before cutting the pad. It should cover the component without extending onto nearby circuits. Do not stretch it. Stretching can reduce its thickness and weaken contact.
Peel away only one protective film at a time. Position the pad by aligning one edge, then lower it slowly. Press gently across the surface with clean fingers or a smooth tool. Avoid trapping dust, fingerprints, or air pockets. Some pads need firm mounting pressure to perform well, so tighten screws gradually in a cross pattern. Do not overtighten them.
I once installed a pad that looked perfectly aligned, but its protective film remained underneath. The temperature increased noticeably. Small oversights matter. After assembly, run the system under a normal workload and check temperatures. If cooling seems poor, inspect pressure, thickness, and contact marks before replacing the pad.



 Close
Close